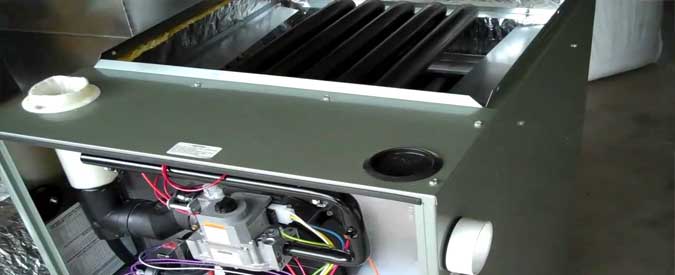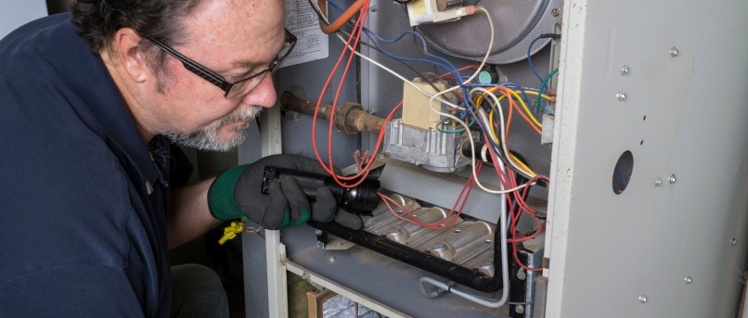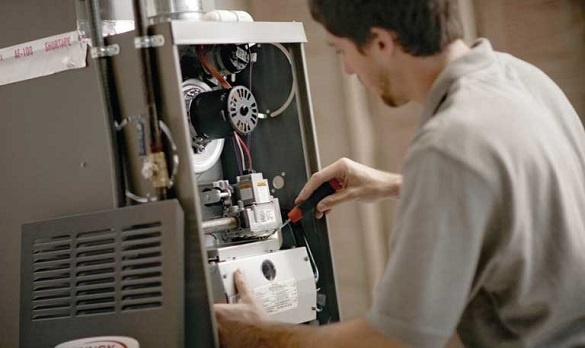
When it’s time for a new HVAC system, though, many customers are unsure what to expect. To help answer that question, we’ve created this guide that details, step by step, the process of installing a new HVAC system in a home.
Phase 1: Staging
As important as a functioning HVAC system is, most homeowners would prefer to keep their home intact during the installation process. Our technicians first cover the floors in the areas where they will be working. Outside of those areas, we also wear shoe covers to prevent tracking outside dirt. When we arrive, we’ll park in the area you designate appropriate before starting our walk-through to tell you about the work we’ll be doing. We’ll also secure any valuables and make sure five feet around the area we will be working is free of children and pets. Lastly, we’ll identify key shutoffs before bringing our tools into the house.
Phase 2: Removing
The first step of installation is to cut power to the home at the panel. This keeps our technicians and your house safe as we work. We also shut off gas at either the equipment or the meter, depending on your home. Once power and gas has been shut off, we begin the process of disconnecting your old equipment from the gas, electrical ducting, and venting. When it’s disconnected, we remove the equipment from the area, along with any debris that has collected during our work. Before Setting Up Your New HVAC System, we completely clean and disinfect the floor and the interior duct surfaces within our reach. The last step before installation begins is to pinpoint any exit holes for cutting.
Phase 3: Installation
In some cases, our technicians will need to cut holes in the exterior of the home before installation can begin. We take extra precautions to ensure each hole is cut in a tidy and accurate manner to ensure the best seal, as well as keeping a polished appearance. We also clear the area of wires or pipes before cutting. As we begin to install the vent piping, at a minimum grading of one-fourth inch per foot, we make sure the pipe is supported every four to five feet. We then install the combustion air intake piping, making connections to the home’s furnace, as well as the exterior. We always use System 636 vent piping, joined by purple primer and PVC glue for optimum system efficiency. After making sure that it is 100 percent safe to do so, our technicians then reconnect the gas piping to the new appliance and test all gas joints for leaks. Using 26-gauge sheet metal, our technicians then make duct connections and return air plenums. The last step is to make electrical connections, including the switch located near the furnace and the thermostat control wiring, as well as installing all other accessories.
Phase 4: Start-Up
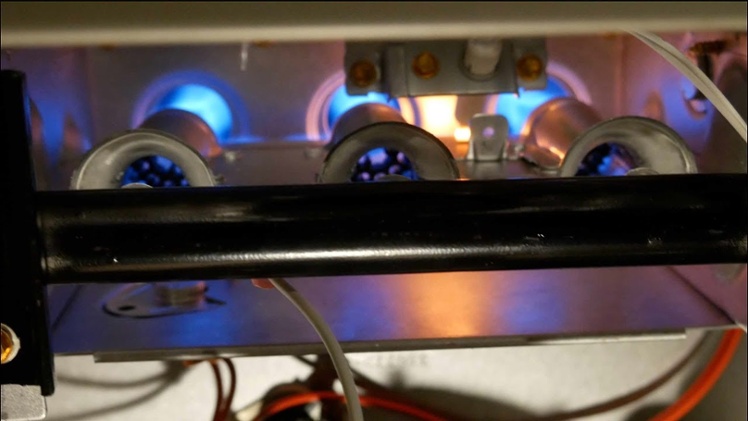
Once the new equipment is in place, our Big Bear HVAC technicians then turn on the gas and electrical to the system so that they can test the equipment on all firing levels. This testing is conducted for a minimum of ten minutes. We also test the thermostat on every function available to make sure everything is working perfectly. After we verify it is working, we do a walk-through project audit with the customer and explain all the various functions of the new equipment.
If you’re looking for a reputable and professional Big Bear HVAC Contractor, we can help. We’ll recommend several options for your own home and schedule installation for a time that is most convenient for your family. Contact us today to schedule a visit from one of our experienced specialists.
If you are looking for a Big Bear plumbing, heating & air conditioning contractor, please call (909) 584-4376 or complete our online request form.
Category: Air Conditioning Installation


